User Tools
Sidebar
Table of Contents
Sparky Advanced Installer
The Advanced Installer was forked from the Remastersys Installer a few years ago, to provide a lightweight system installer.
The Advanced Installer is preinstalled as default, alongside the default Calamares installer, and provides:
1. A backup installer to the main one;
2. A lightweight installer to older machines, which can't run main installer;
3. Additional functionality which let you install one of many desktops of your choice (MinimalISO only);
Two Install Modes
1. Graphical Mode, the Yad based - runs from system's menu→ System→ Sparky (Advanced) Installer
or via the command line:
sudo sparky-installer gui
or
sudo sparkylinux-installer gui
2. Text Mode, the Dialog based, runs via the command:
sudo sparky-installer
or
sudo sparkylinux-installer
The Advanced Installer
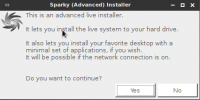
1.The first Advanced Installer window asks for confirmation of your decision - install yes or no.
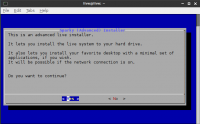
(text mode):
2. The live system is installed with en_US locales as default. To change it, choose *Yes*.
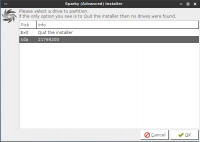
3. Now, you need to choose a disk (hard or flash) to install the system too.
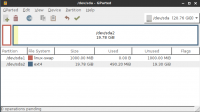
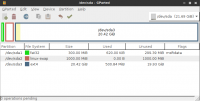
4. After choosing a disk, you can divide/split existing partitions. You need at least:
- one root partition for system files (10-20 GB about)
- one swap partition (500MB - 1GB about)
- one efi partition (100-300MB about) (UEFI machines only)
You can select an optional home partition for your personal files.
Important !
If you would like to set a home directory (the next step) on separated, shared partition, DO NOT use the same user name as used in anther Linux distribution you might be sharing the home directory with. If you deleted other Linux distribution before and there still exist your old home directory - DO NOT use the same user name as you had before.
The new user name has to be different than before so the home directory will get different name, and that will avoid problems after the first boot.
If you are not sure about the partitioning process, read the Disk Partitioning Guide.
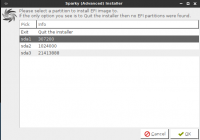
5. After disk partitioning is finished, choose the partition for *efi.image* to be installed into (EFI machines only). If the partition already exists on your machine (other operating system/systems already installed), don't format it, just use it.
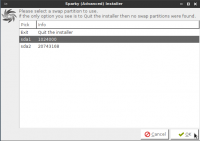
6. Choose the swap partition.
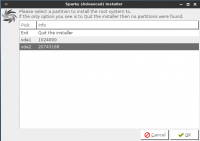
7. Choose the root partition.
Then choose other partitions if any (home, boot, proc, media, etc.)
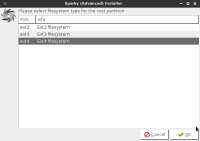
8. Choose a file system to be used to the root partition (ext4 preferred).
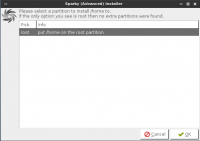
9. Choose your home partition if you're using a one. If not, the home directory will be installed inside the root partition.
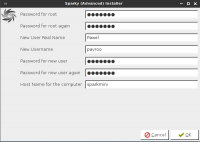
10. Enter information about your account and the machine:
- root (admin) password (twice)
- your full name
- your nick name - use small letters and numbers only (no special characters, no white spaces)
- your password - you can use small, block letters, numbers and special characters (no white spaces) (twice)
- host name - a name of your machine - use small letters and numbers only (no special characters, no white spaces)
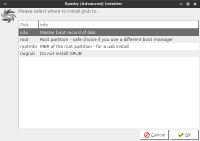
11. Choose a place to install the GRUB bootloader to:
- Master Boot Record (MBR) - it's a main record displayed as '/dev/sda' or '/dev/sdb', if you have more than one hard disk - recommended to install GRUB to
- root partition - it's a partition where you will install Sparky file system to
- rootmbr - if you installing Sparky onto an USB disk
- no grub - do not install GRUB at all - for advanced users
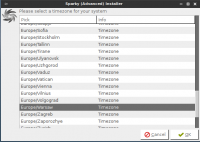
12. Set your time zone.
13. Verify your settings and let the installer copy the system files to your drive.
Choose A Desktop Environment and/or Window Manager
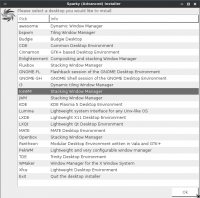
Running the Advanced installer on Sparky MinimalGUI or MinimalCLI iso image, you can choose a desktop environment/window manager to be installed. If you choose a desktop other than the drfault, the installer will use the latest versions of Sparky's desktop related packages - active internet connection required!
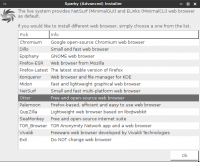
You can also choose a web browser to be installed too.
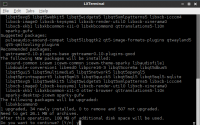
The installer asks for confermation - type: y
After finishing all the operations, turn off your machine, remove the live media and enjoy SparkyLinux.

