User Tools
Sidebar
Live Installer
The Live Installer is a fork of Linux Mint Debian Edition (LMDE) installer, and was in use up to Sparky version 4.5. After that, Sparky uses Calamares as default.
This tutorial shows installation process using the Live Installer.
The Live Installer icon is available at the desktop or in the Menu→ System→ Sparky Installer
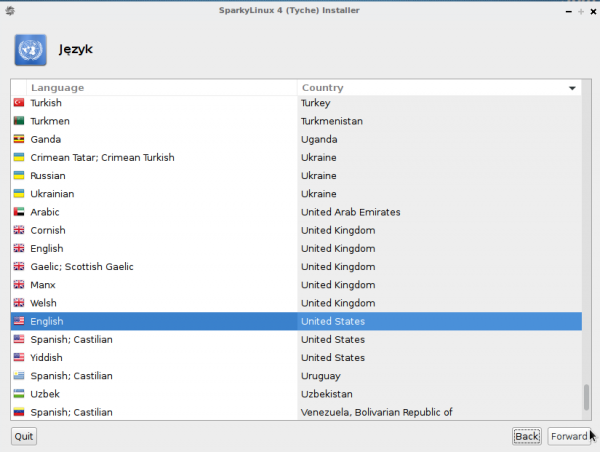
1. As the first step choose your language.
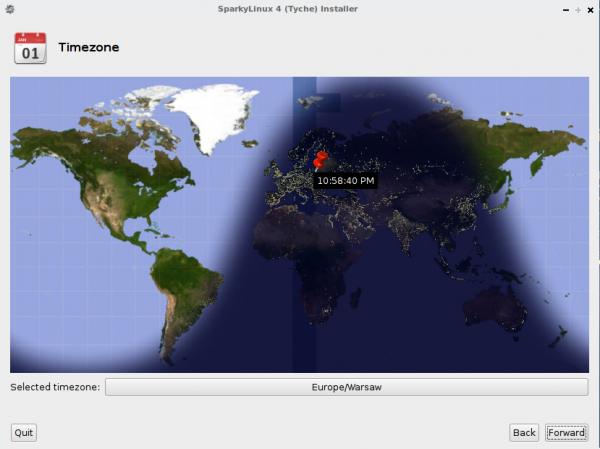
2. Choose your time zone.
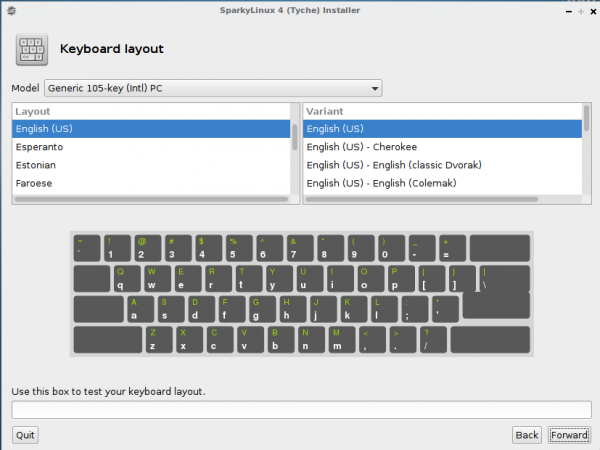
3. Choose your keyboard layout. You can try it out typing some letters/words in the bottom field.
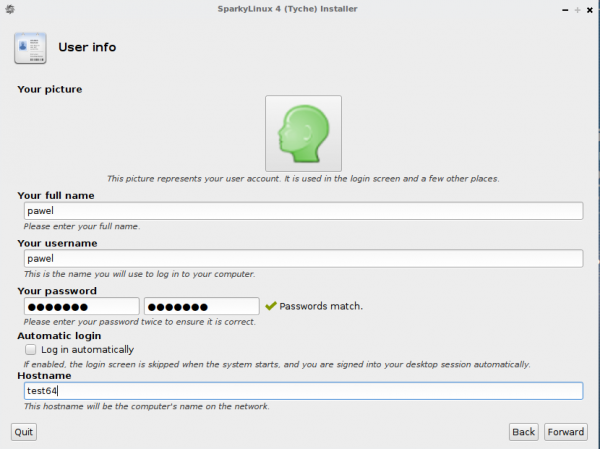
4. Type informations about your account and the machine:
- your full name
- your nick name - use small letters and numbers only (no special characters, no white spaces)
- your password - you can use small, block letters, numbers and special characters (no white spaces)
- host name - a name of your machine - use small letters and numbers only (no special characters, no white spaces)
Important !
If you would like to set a home directory (the next step) on separated, shared partition, DO NOT use the same user nick name as already exist in the other Linux distribution you will be sharing the home directory with. If you deleted other Linux distribution before and there still exist your old home directory - DO NOT use the same nick name as you had before.
The new nick name has to be different the before so the home directory will get different name, so it will avoid problems after the first hard drive booting.
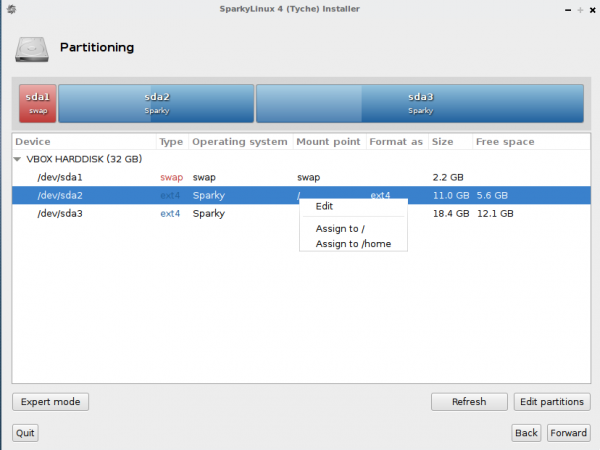
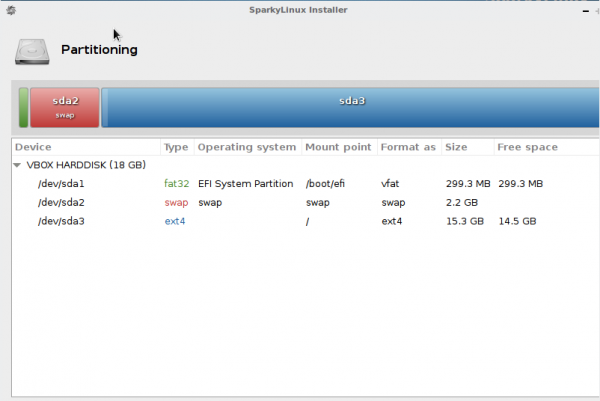
5. Choose or/and create at least 2 partitions for your system:
- / - root partition - it's a place where Sparky will be installed to. The recommended size is:
- 10 GB (or bigger)
- GameOver Edition 20 GB (or bigger)
- SWAP partition - If your RAM memory is 1GB, create SWAP partition 1 GB (minimum) or bigger. If your RAM memory is smaller than 1 GB, create SWAP partition 2 times bigger that RAM
You can create an additional 'home' partition (recommended) for your private files and your account settings.
UEFI machines need one more partition with 'vfat/fat32' file system and the size at least 100 MB.
If the partition already exist on your machine, don't format it, just use it.
If you have no partitions on your machine, you can use “Automated Partitioning' option. The installer asks you about that and will use all the disk space.
If you have other system installed on your machine and no separated partitions for Sparky, use 'Edit partitions' option so shrink existing partition if you'd like to keep existing other OS installed on.
If you still are not sure about the partitioning process, read Disk partitioning guide.
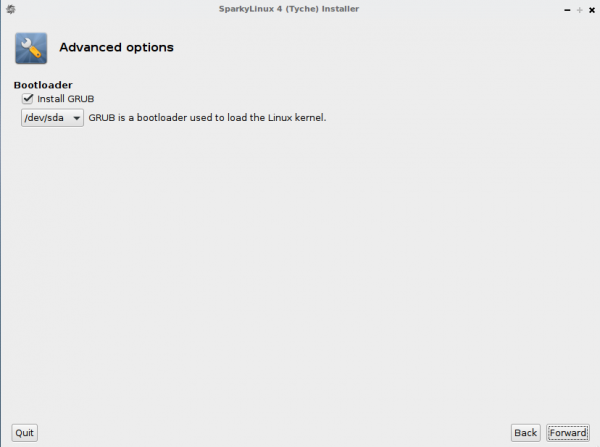
6. Choose a place to install GRUB bootloader to:
- Master Boot Record (MBR) - it's a main record displayed as '/dev/sda' or '/dev/sdb', if you have more than one hard disk - recommended to install GRUB to
- root partition - it's a partition where you will install Sparky file system to
7. Summary - if all the details are fine, simply push the 'Apply' button to start the installation process.
If you'd like to change something, click 'Back' button.
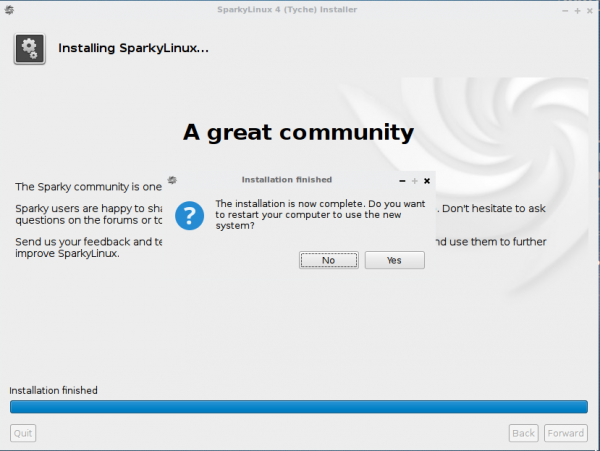
8. Wait until the installation process will be finished, then reboot your machine.
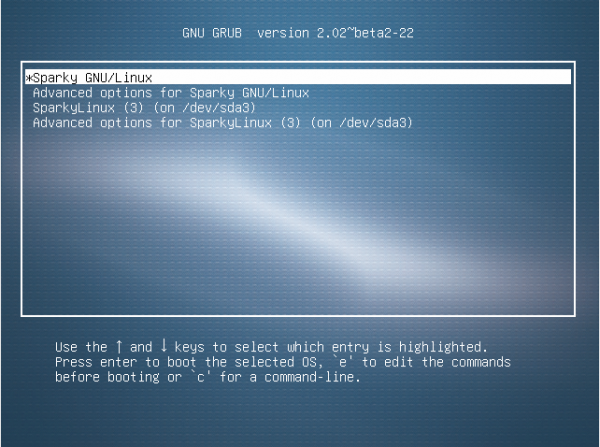
9. After rebooting, the GRUB bootloader lets you launch Sparky from a hard drive or choose other operating system if is there any.
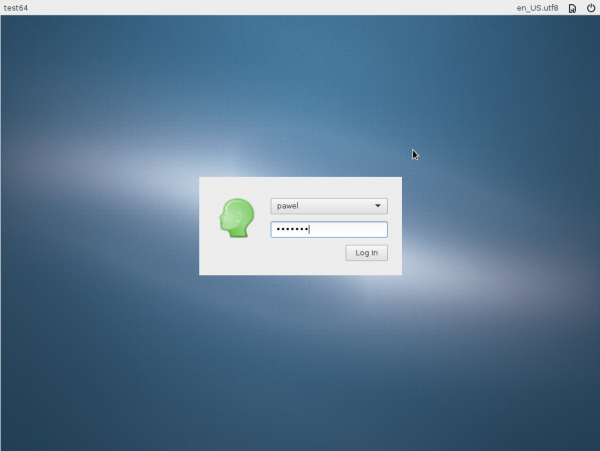
10. Use your login and password you have created before to log in to your Sparky account.

