Calamares
Starting from version 4.6, Sparky uses Calamares installer as default.
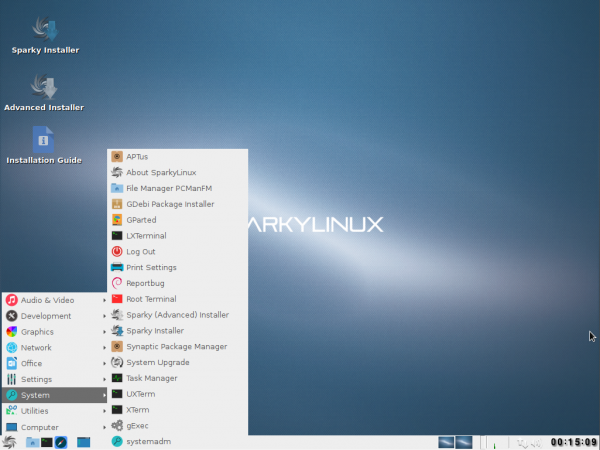
Calamares is reachable in a live system under “Sparky Installer” icon, which is available from a desktop or system's menu → System Submenu.
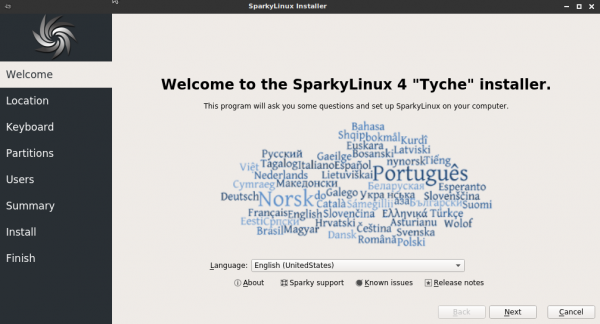
1. The first “Welcome” screen lets you choose language, you would like to use during installation process.
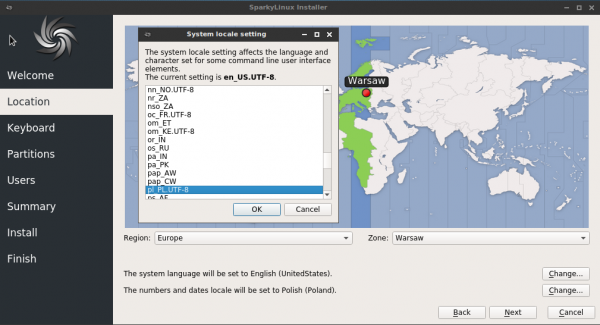
2. Choose your location, set language for the target system.
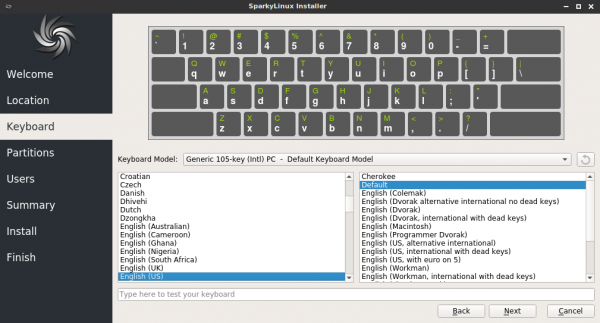
3. Choose your keyboard layout. You can try it out typing some letters/words in the bottom field.
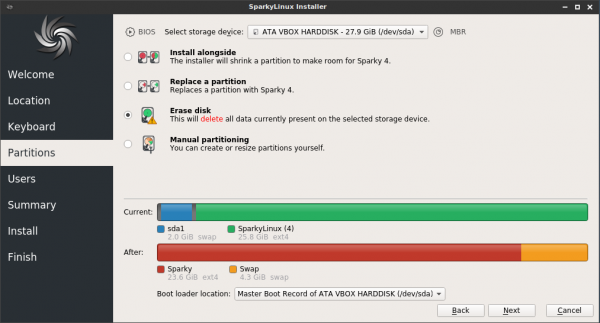
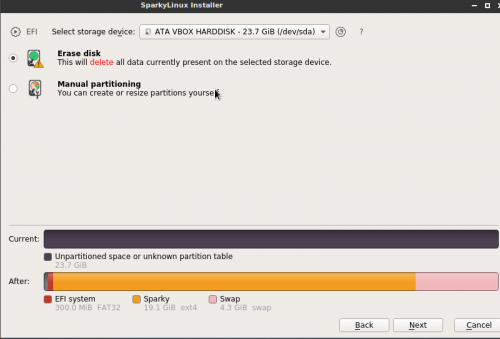
4. Choose or/and create at least 2 partitions for your system:
- / - root partition - it's a place where Sparky will be installed to. The recommended size is:
- 10 GB (or bigger)
- GameOver Edition 20 GB (or bigger)
- SWAP partition - If your RAM memory is 1GB, create SWAP partition 1 GB (minimum) or bigger. If your RAM memory is smaller than 1 GB, create SWAP partition 2 times bigger that RAM
You can create an additional 'home' partition (recommended) for your personal files and your account settings.
Choose a place to install GRUB bootloader to:
- Master Boot Record (MBR) - it's a main record displayed as '/dev/sda' or '/dev/sdb', if you have more than one hard disk - recommended to install GRUB to
- root partition - it's a partition where you will install Sparky file system to
UEFI machines need one more partition with 'vfat/fat32' file system and the size at least 100 MB.
If the partition already exists on your machine, don't format it, just use it.
If you have no partitions on your machine, you can use “Automated Partitioning' option. The installer asks you about that and will use all the free disk space.
If you have other system installed on your machine and no separated partitions for Sparky, use 'Install alongside' option so shrink an existing partition if you'd like to keep existing other OS installed on.
If you still are not sure about the partitioning process, read Disk Partitioning guide.
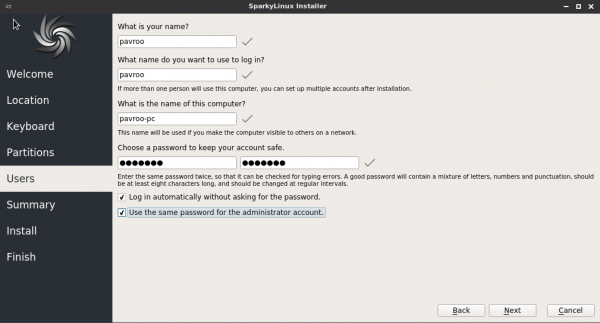
5. Type information about your account and the machine:
- your full name
- your user name - use small letters and numbers only (no special characters, no white spaces)
- your password - you can use small, block letters, numbers and special characters (no white spaces)
- host name - a name of your machine - use small letters and numbers only (no special characters, no white spaces)
You can use different password for the “root” (system admin) user, unchecking the “Use the same password for administrator account” box, then type twice the root password in.
Important !
If you would like to set a home directory (the next step) on separated, shared partition, DO NOT use the same user name as already exists in another Linux distribution you will be sharing the home directory with. If you deleted other Linux distribution before and there still exists your old home directory - DO NOT use the same user name as you had before.
The new user name has to be different than before so the home directory will get different name. That will avoid problems after the first boot.
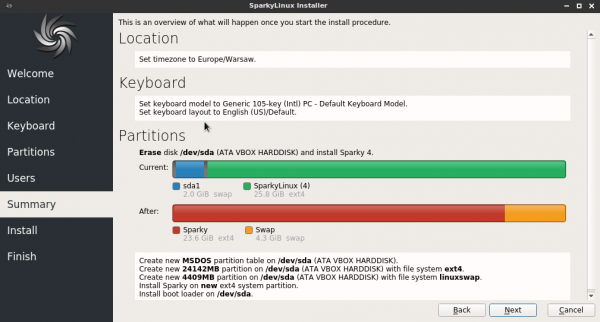
6. Summary - if all the details are fine, simply push the 'Next' button to start the installation process.
If you'd like to change something, click 'Back' button.
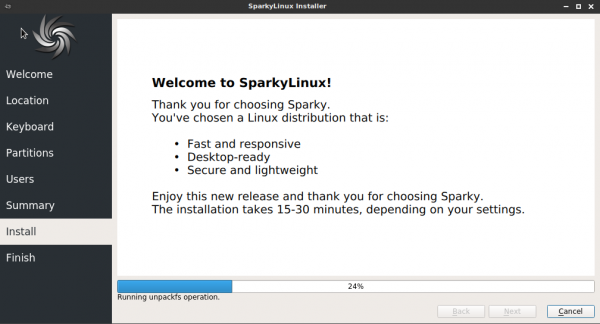
7. Wait until the installation process is finished.
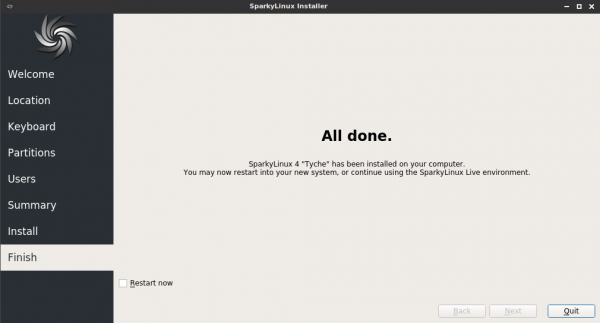
8. Then restart your machine and enjoy SparkyLinux.
